July 30, 2026 · 8 min
What CIPP lining actually is, stage by stage
A new pipe formed inside the old one, without digging up its length. Six stages, and the failures all happen in two of them.
Cured-in-place pipe lining installs a resin-saturated flexible tube inside an existing pipe, inflates it against the host wall, and cures the resin so that it hardens into a new pipe bonded to the old one. The host pipe becomes a mould. Nothing is dug up along its length.
Stage 1: the camera survey
A crawler or push camera runs the length of the pipe and records what is there: material, diameter, joints, root intrusion, cracks, offsets, bellies where the line has sagged, collapsed sections, and every lateral connection with its distance from the access point.
This is the stage that decides whether lining is possible at all, and it is the reason we will not quote before doing it. The detail is on inspection and assessment.
Stage 2: cleaning, and this is where jobs are won or lost
The liner bonds to the host wall. Anything left on that wall, scale, grease, roots, hardened debris, is something the liner is bonded to instead of the pipe. Cleaning is done with a jetter and, where needed, mechanical cutters, and then verified with the camera again.
A liner installed over a poorly cleaned pipe can look perfect on the post-installation video and fail years later. If a quote does not describe the cleaning method and a post-cleaning survey, that quote is cheaper for a reason.
Stage 3: measuring and building the liner
The liner is cut to length and its thickness specified for the diameter, the depth of cover, the loading above it, and whether the host pipe still carries any structural load. A liner designed as if the host pipe were sound, when it is not, is under-specified.
This is engineering rather than plumbing, and the calculation should be available on request. Ours is.
Stage 4: installation
Two common methods. Inversion turns the liner inside out into the pipe using water or air pressure, so the resin face ends up against the host wall. Pull-in-place winches the liner into position and then inflates it. Both work; which suits a given line depends on access, length, diameter and bends.
Stage 5: curing
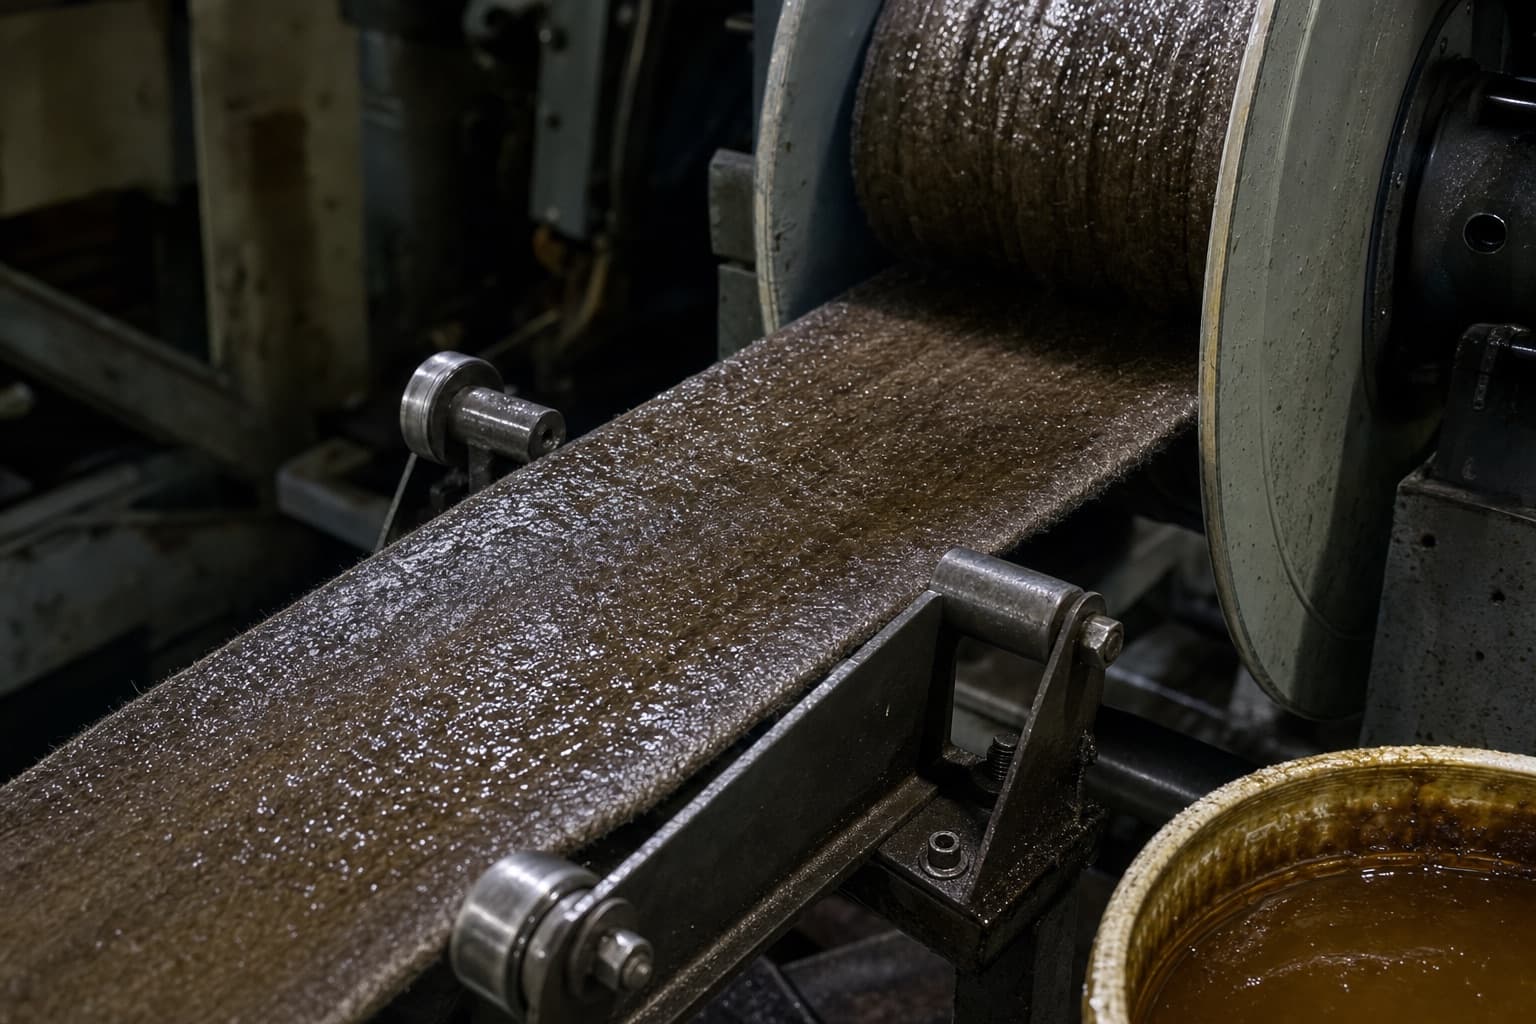
The resin is hardened, by ambient temperature, by circulating hot water or steam, or by ultraviolet light dragged through the liner on a train. Cure is a controlled process with a recorded temperature or exposure profile, and that record is part of the deliverable.
An under-cured liner is soft. An over-cured one can be brittle. Neither is visible on a video, which is why the cure record matters more than the video does.
Stage 6: reinstating the laterals, and the final survey
The liner seals over every branch connection, and each one has to be cut open again from inside with a robotic cutter, at the position recorded in stage 1. A missed lateral is a blocked lateral, and it is discovered by whoever lives above it.
The job ends with a camera survey of the finished liner, which is the document you keep.
Where lining is the wrong answer
- A collapsed section, where there is no host pipe left to line.
- A pipe so far out of round or offset that a liner cannot pass or would fold.
- A belly holding standing water, which lining does not correct, because the liner follows the sag.
- A line that is too small in diameter to survive losing a few millimetres of bore.
- A pipe that has to move, for grade, for a new connection, or because it runs where a building is going.
The honest comparison with digging is on lining versus replacement.
Start with the camera survey
Nothing about this work can be quoted honestly before someone has looked inside.
CIPP Connect rehabilitates pipe in place: camera inspection and assessment, cleaning, cured-in-place liner installation, lateral reinstatement and post-installation verification. One crew, one written scope.